Maccabbee Bushcraft & Outdoor Gear
  • Home
  • Sales
  • Products
    • Apparel
    • Packs
    • Basecamp >
      • Sleep
      • Cordage
      • Camp Storage
    • Knives & Cutting Tools >
      • Axes
      • Saws
      • Wood Carving
      • Multi-Tool
    • Fire & Light >
      • Stoves
    • Coffee
    • Food & Cookware
    • Water & Hydration
    • Navigation
    • Rappelling
    • Hygiene
    • First Aid >
      • First Aid Video Resources
    • Foraging >
      • Herbal Courses
    • Bushcraft Books/DVD's
  • Off The Grid
    • Solar Panel Kits
    • Solar Panels
    • Portable Power
    • Inverters
  • Bushcraft Education
    • Exploring The Grand Syllabus >
      • My Wilderness Experience Log Book
    • Why Write A Wilderness Experience Log Book
    • Bushcraft Tutorials >
      • Wood Working Tutorials
      • Navigation Tutorials
      • Foraging Tutorials
      • Cooking Tutorials
    • Fauna
    • Trees >
      • Food Sources
      • Medicinal Properties
      • Fuel/Construction
    • Wild Edibles >
      • Wild Edible List
      • Medicinal Plants >
        • Medicinal Blog
      • Edible Mushrooms
      • Mushroom Poisoning Facts
  • Blog
  • Policies
  • About Us
    • Contact

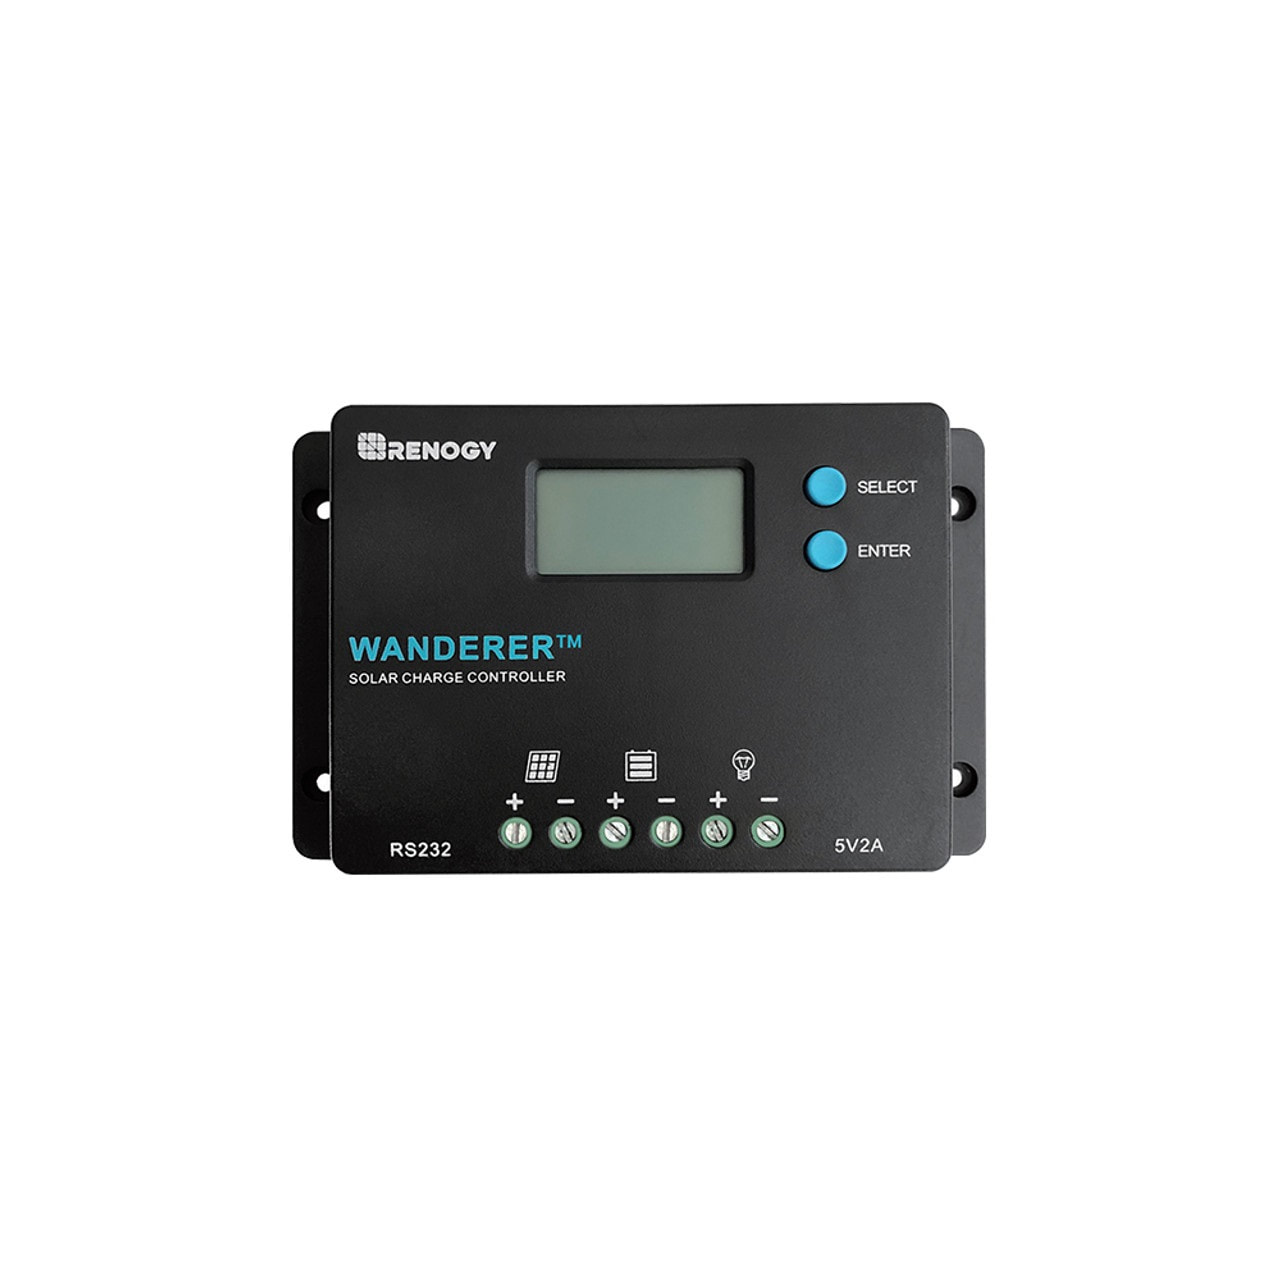
Wanderer 10A PWM Charge Controller

SKU: RNG-CTRL-WND10-US
$34.99
$34.99
Unavailable
per item

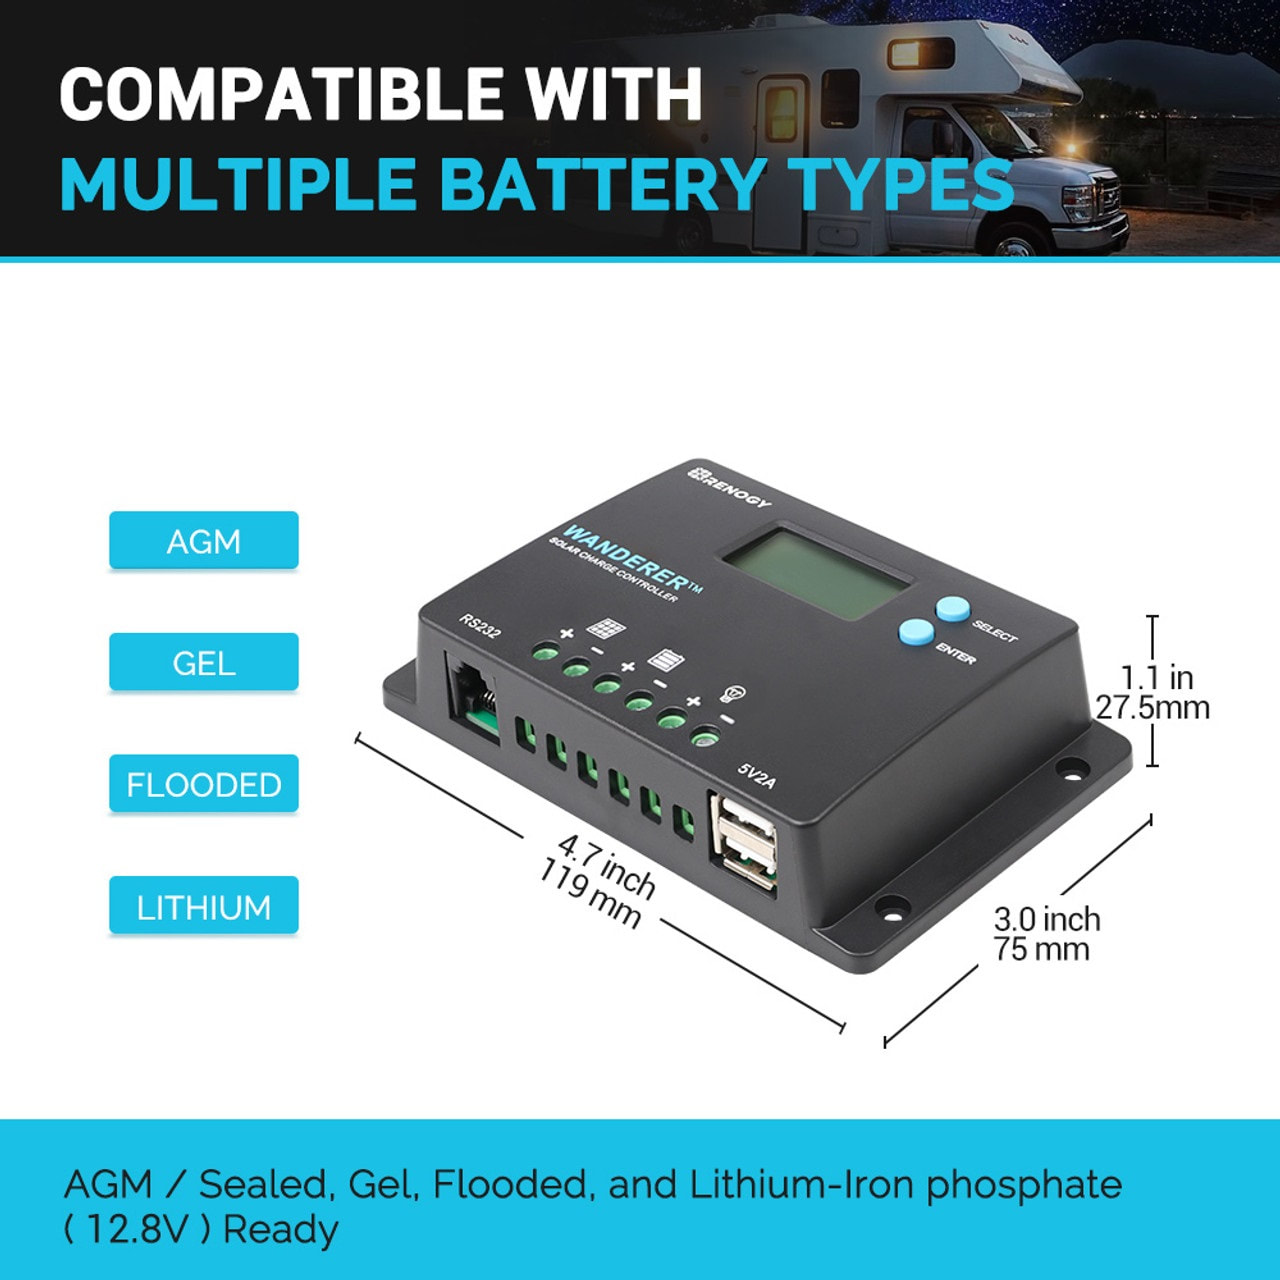
The Renogy 10A Wanderer solar charge controller integrates efficient PWM charging to increase battery life and improve system performance. With a simple interface for ease of use, this controller comes equipped with fully comprehensive self-diagnostics and electronic protection functions to prevent damage from installation mistakes or system faults. Designed for off-grid solar applications, this advanced charge controller is compatible with various types of 12V/24V batteries, including Lithium!

Note: Please set the voltage manually to charge lithium batteries.


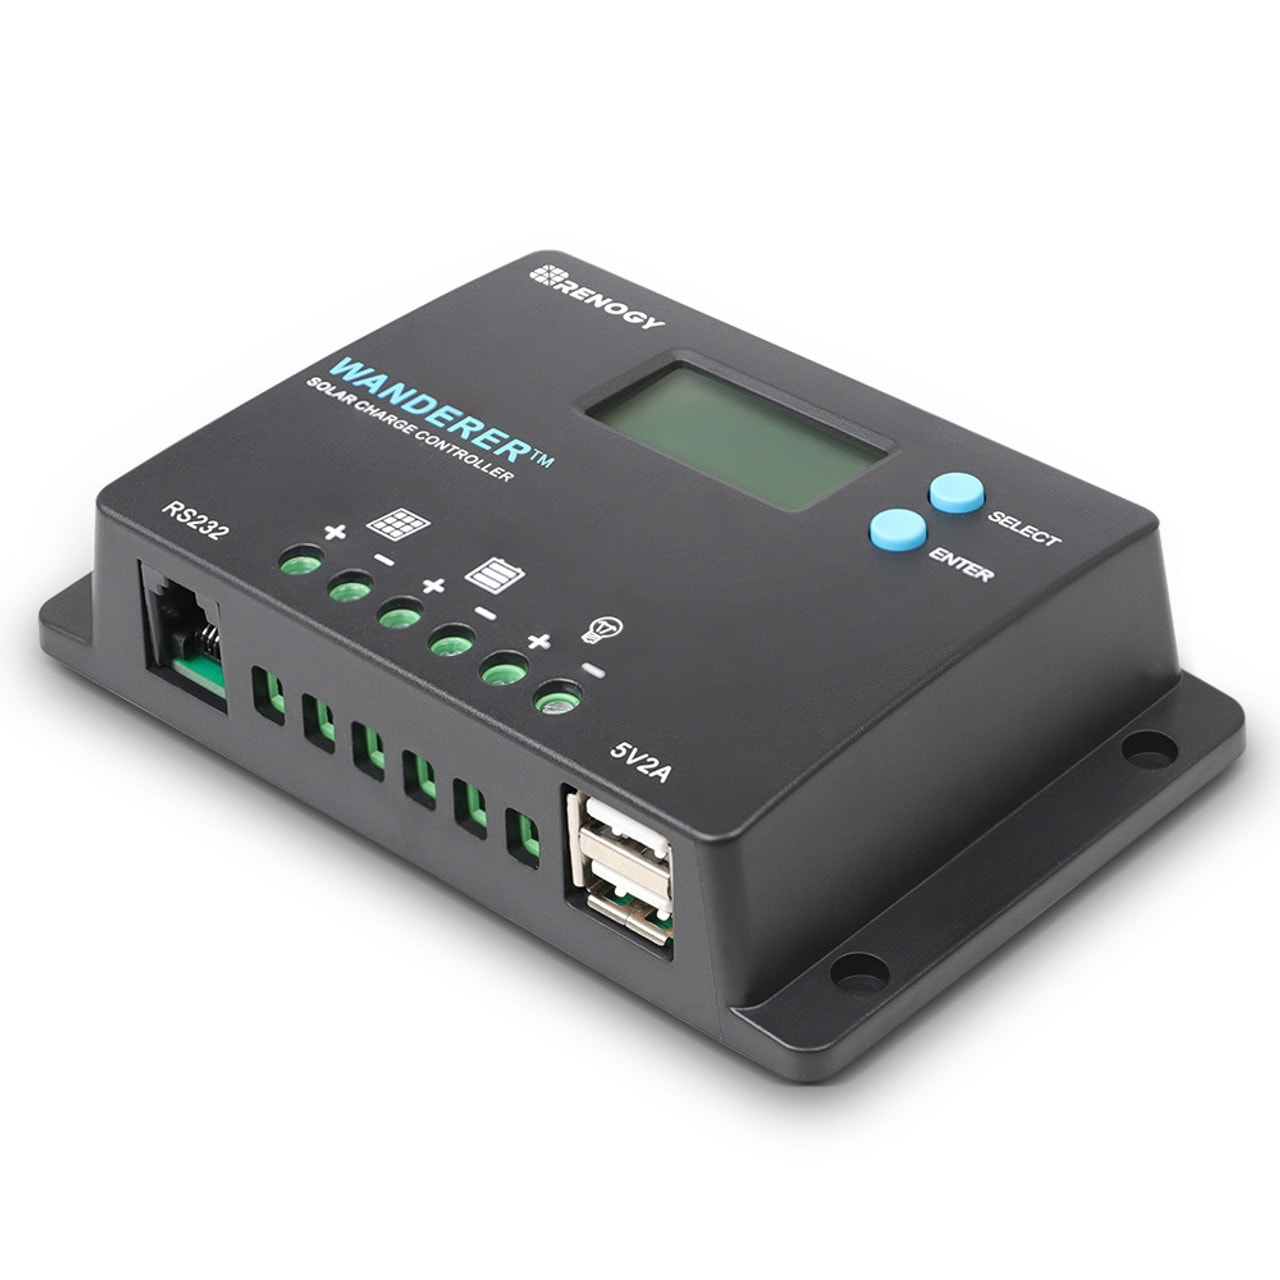
Wanderer10A|30A Installation Notes: The default starting position of the Wanderer controller terminal hatches are closed (in the UP position) that could mistakenly look like an open wire hatch. Make sure to FIRST lower each terminal hatch by screwing the terminals counterclockwise (CCW) to expose the wire terminal hatch to the open position. THEN secure each cable by rotating the screws clockwise (CW) to the closed position.

Simple Install: Fully open the hatch (CCW), insert the appropriate wires, and completely close the hatch (CW).

  • Facebook
  • Pinterest
Add to Cart
© 2018 Maccabbee Bushcraft & Outdoor Gear
We are a (USMC) veteran-owned, small business with a love for God, Country and the great outdoors!
  • Home
  • Sales
  • Products
    • Apparel
    • Packs
    • Basecamp >
      • Sleep
      • Cordage
      • Camp Storage
    • Knives & Cutting Tools >
      • Axes
      • Saws
      • Wood Carving
      • Multi-Tool
    • Fire & Light >
      • Stoves
    • Coffee
    • Food & Cookware
    • Water & Hydration
    • Navigation
    • Rappelling
    • Hygiene
    • First Aid >
      • First Aid Video Resources
    • Foraging >
      • Herbal Courses
    • Bushcraft Books/DVD's
  • Off The Grid
    • Solar Panel Kits
    • Solar Panels
    • Portable Power
    • Inverters
  • Bushcraft Education
    • Exploring The Grand Syllabus >
      • My Wilderness Experience Log Book
    • Why Write A Wilderness Experience Log Book
    • Bushcraft Tutorials >
      • Wood Working Tutorials
      • Navigation Tutorials
      • Foraging Tutorials
      • Cooking Tutorials
    • Fauna
    • Trees >
      • Food Sources
      • Medicinal Properties
      • Fuel/Construction
    • Wild Edibles >
      • Wild Edible List
      • Medicinal Plants >
        • Medicinal Blog
      • Edible Mushrooms
      • Mushroom Poisoning Facts
  • Blog
  • Policies
  • About Us
    • Contact